Share a Calendar
This tutorial explains how to share your SOGo 5 calendar with other users and control what they can see or do.
Prerequisites
- A SOGo 5 account with valid credentials
- You are logged into SOGo 5
- You have at least one calendar (e.g., the default "Personal" calendar)
Step-by-Step Instructions
Step 1: Open Calendar Settings
- In the sidebar navigation, click Calendar
- In the top toolbar, click the gear icon ⚙ (Settings)
- Select Calendar from the settings menu
Alternatively, right-click on a calendar name in the left sidebar and select Properties or Sharing.
Step 2: Choose a Calendar to Share
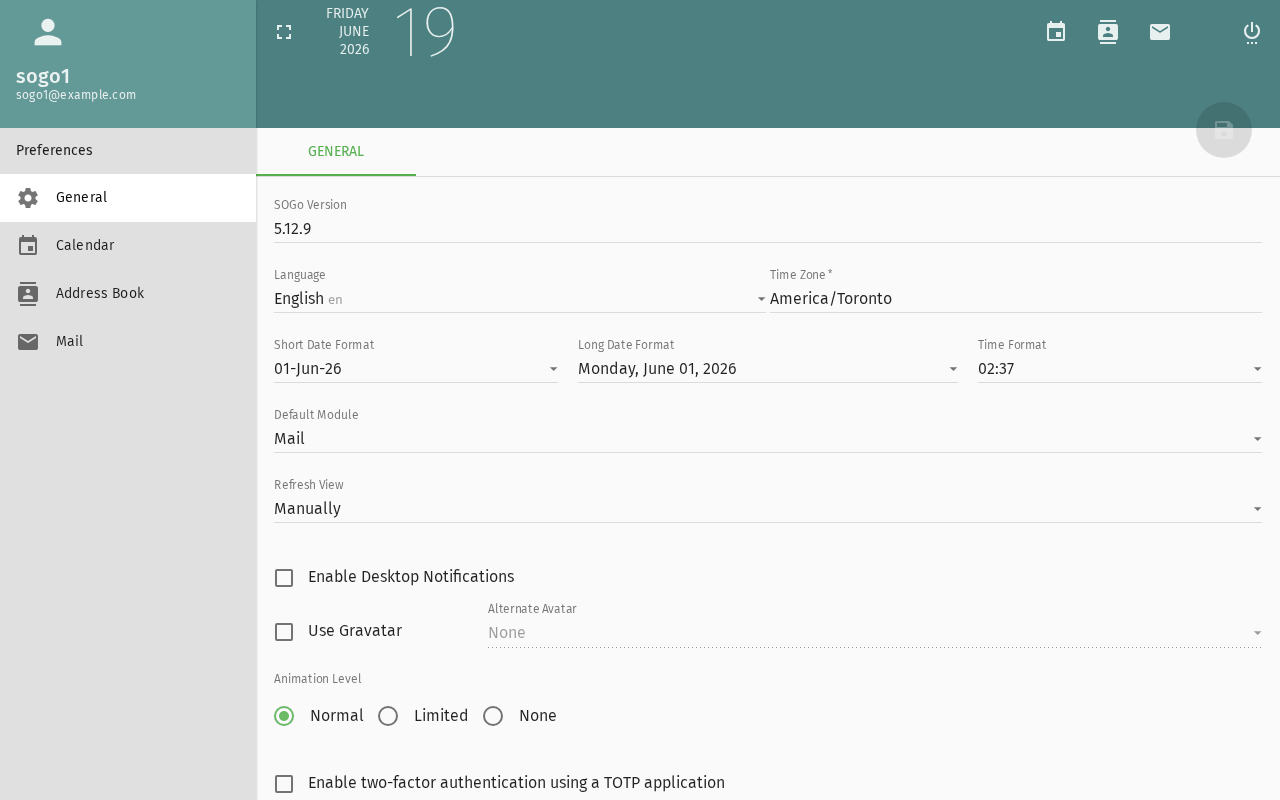
In the calendar list, you will see all your calendars:
- Personal — Your default calendar
- Any additional calendars you have created
Select the calendar you want to share.
Step 3: Add a User
- In the Permissions or Sharing tab, click Add User
- Start typing the person's name or email address
- Select them from the auto-complete list
Step 4: Set Permission Level
Choose what the user can do:
| Permission: What user can do with your calendar | Can View: Whether user can see events | Can Create/Edit: Whether user can create or edit events | Can Delete: Whether user can delete events | Can Share: Whether user can share with others |
|---|---|---|---|---|
| Free/Busy | ✅ Time slots only | ❌ | ❌ | ❌ |
| View (read-only) | ✅ All details | ❌ | ❌ | ❌ |
| View + Respond | ✅ All details | ❌ | ❌ | ❌ |
| Modify | ✅ All details | ✅ Own events | ✅ Own events | ❌ |
| Modify All | ✅ All details | ✅ Any event | ✅ Any event | ❌ |
| Admin | ✅ All details | ✅ Any event | ✅ Any event | ✅ Can add others |
Recommended for most cases: Modify allows a colleague to create and edit events in your calendar.
Step 5: Confirm the Share
Click OK or Save to apply the permission. The user will now be able to access your calendar according to the permission level you set.
Step 6: Verify (Optional)
To verify the share is working:
- Open a private/incognito browser window
- Log in as the user you shared with
- Open the Calendar module
- Check that your shared calendar appears in their calendar list
Sharing via CalDAV (Advanced)
If you use a CalDAV client (Thunderbird, macOS Calendar, iOS):
- Open your CalDAV client
- Add a new calendar with the URL:
https://your-sogo-instance/SOGo/dav/your-username/calendar/personal/
- Enter your SOGo 5 credentials
- The calendar will sync automatically
Shared calendars will appear under the same CalDAV endpoint for users who have been granted access.
Remove or Change Sharing
To revoke or change access later:
- Go to Calendar Settings → Permissions
- Find the user in the list
- To change: select a different permission level
- To remove: click the X or Remove button next to their name
Conclusion
You have successfully shared your calendar. Shared calendars are a great way to coordinate team schedules, plan meetings, and keep everyone on the same page.
Accessibility
Keyboard Navigation
SOGo 5 supports full keyboard navigation for calendar sharing features.
| Action | Keyboard Shortcut: What key to press | Notes: Additional information |
|---|---|---|
| Open Calendar module | Alt+C | |
| Open calendar settings (gear) | Tab then Enter | |
| Open Properties/Sharing | Shift+F10 or Tab then Enter | |
| Add User field | Tab to Add button, then Enter | |
| Navigate permission level dropdown | Tab then Up/Down | |
| Confirm share | Tab to OK/Save, then Enter | |
| Remove shared user | Tab to X/Remove, then Enter | |
| Close settings | Escape |
Screen Reader Workflow
Sharing a Calendar: Adding a Colleague with Modify Permission
Step 1: Open Calendar Module
- Press
Alt+Cto navigate to the Calendar module - Screen reader announces: "Calendar, module heading"
Step 2: Open Calendar Settings
- Press
Tabto navigate to the gear icon (Settings) in the toolbar - Press
Enterto open settings - Screen reader announces: "Settings dialog, Calendar tab"
Step 3: Select Calendar to Share
- Press
Tabto navigate the calendar list - Use
Up/Downarrow keys to select the desired calendar - Screen reader announces: "Personal calendar, selected"
Step 4: Open Permissions Tab
- Press
Tabto reach the Permissions or Sharing tab - Press
Enterto activate - Screen reader announces: "Permissions tab, selected"
Step 5: Add a User
- Press
Tabto reach the "Add User" button - Press
Enterto activate the autocomplete field - Start typing the colleague's name or email
- Screen reader announces: "Edit, autocomplete, suggestions available"
- Use
Downarrow to navigate suggestions,Enterto select
Step 6: Set Permission Level
- Press
Tabto reach the permission level dropdown - Use
Up/Downarrow keys to cycle through permission options - Screen reader announces each option: "Modify, selected" or "View read-only, selected"
- Select Modify for the recommended level
Step 7: Confirm and Save
- Press
Tabto reach the OK or Save button - Press
Enterto apply the share - Screen reader announces: "Saved successfully" or similar confirmation
Step 8: Verify (Optional)
- Open a private/incognito browser window
- Log in as the shared user
- Open Calendar module
- The shared calendar appears in their list with your name
Common Screen Reader Announcements:
| Announcement: What screen reader says | Meaning: What it means | Action: What to do |
|---|---|---|
| "Calendar, module heading" | Calendar list is loaded | Begin navigation to settings |
| "Permissions tab, selected" | Sharing options are open | Proceed to add a user |
| "Edit, autocomplete, suggestions available" | User search field is active | Type colleague's name and select from list |
| "Modify, selected" | Permission level is set | Confirm or change the level |
| "Saved successfully" | Share has been applied | Share is active — inform the user |
| "User already has access" | Duplicate share attempt | Change permission level or remove and re-add |
| "Invalid user" | User not found in SOGo | Check spelling or full email address |
Visual Content Descriptions
[calendar-share.png]: Animated demonstration of sharing a calendar with a colleague in SOGo 5.
- Frame 1 (0–1.5s): User right-clicks the "Personal" calendar in the left sidebar and selects Properties from the context menu
- Frame 2 (1.5–3.5s): Properties dialog opens to the Permissions tab. User clicks Add User and begins typing a colleague's name
- Frame 3 (3.5–5.0s): Autocomplete dropdown appears with matching colleagues. User selects one with the mouse
- Frame 4 (5.0–7.0s): User opens the permission level dropdown and selects Modify from the list
- Frame 5 (7.0–8.5s): User clicks OK to confirm. The colleague appears in the permissions list with the Modify badge
High Contrast Mode
SOGo 5's dark mode and high contrast mode work with all sections described above. Toggle via: Settings button (gear icon) → General → Theme → Dark/High Contrast.