Add a Contact
This tutorial explains how to add contacts to your SOGo 5 address book and organize them into groups.
Prerequisites
- A SOGo 5 account with valid credentials
- You are logged into SOGo 5
Step-by-Step Instructions
Step 1: Open the Contacts Module
In the sidebar navigation on the left, click Contacts to open your address book.
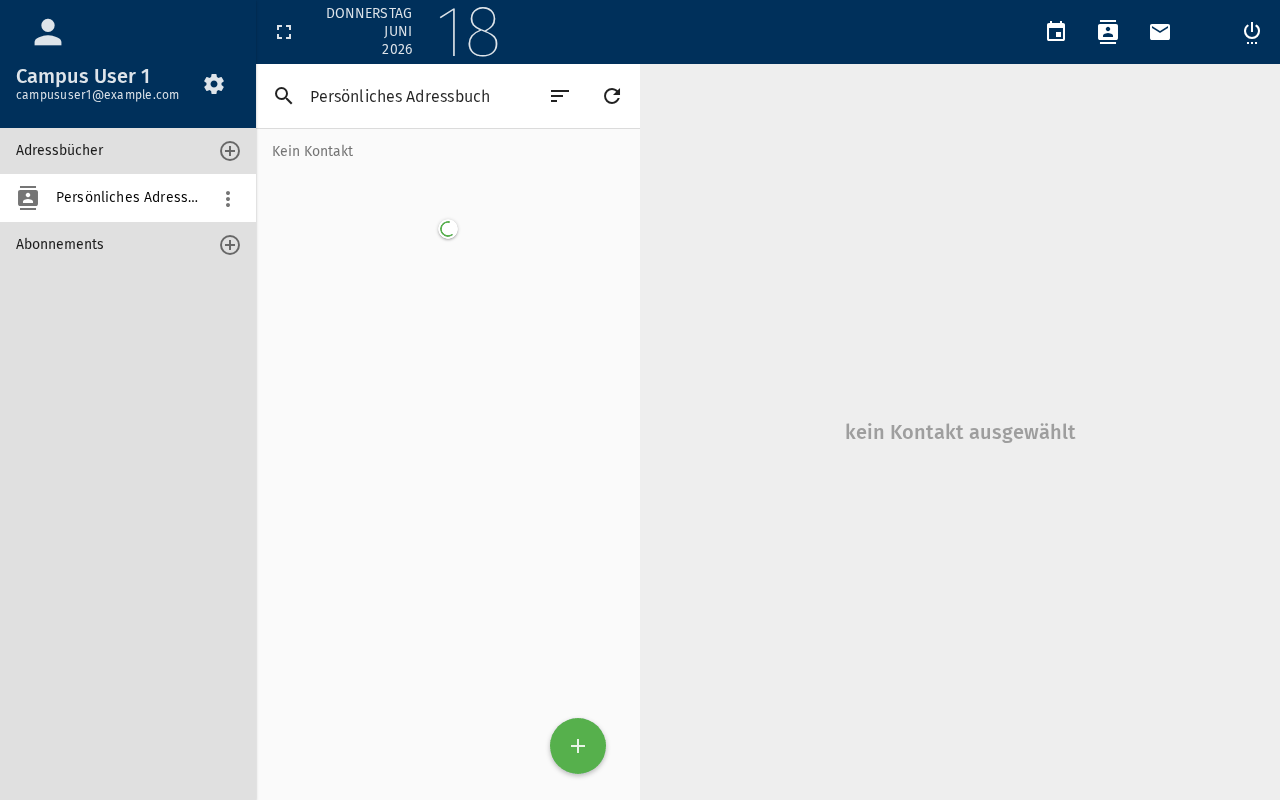
The contacts view shows your address book with any existing contacts. On the left, you'll see your address books and contact groups.
Step 2: Create a New Contact
Click the + (plus) button to add a new contact.
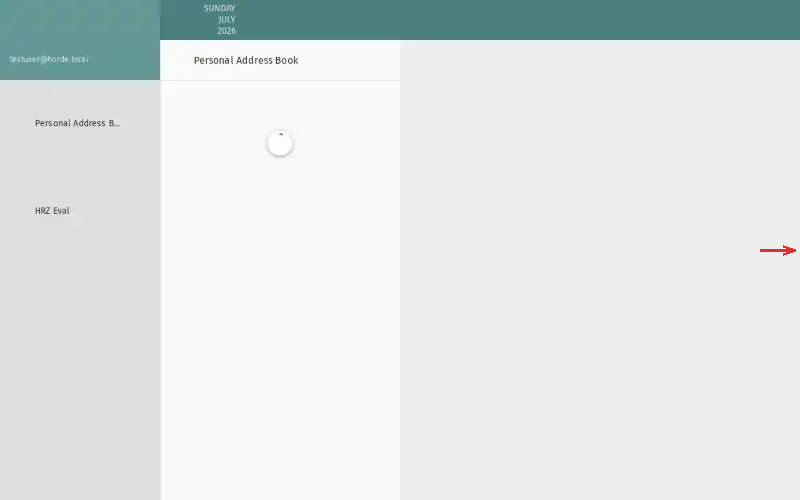
A blank contact form will appear.
Step 3: Enter Contact Information
Fill in the contact's details. The most commonly used fields are:
| Field | Description: What to enter | Recommended: Always fill? |
|---|---|---|
| First Name | Given name | ✅ Always |
| Last Name | Family name | ✅ Always |
| Primary email address | ✅ Always | |
| Phone | Telephone number | Optional |
| Mobile | Mobile phone number | Optional |
| Company | Organization or company | Optional |
| Job Title | Position at work | Optional |
The Display Name field is auto-filled from First + Last name, but you can customize it (e.g., "John D. (IT Support)").
Step 4: Add Additional Details (Optional)
Scroll down to access more fields:
| Section | Fields: Available details |
|---|---|
| Address | Street, City, ZIP, Country |
| Other Email | Secondary email addresses |
| Website | Personal or work URL |
| IM | Instant messaging handles (Jabber, etc.) |
| Notes | Free-text notes about the contact |
Step 5: Choose an Address Book
If you have multiple address books, select which one to save to using the dropdown at the top of the contact form.
- Personal Address Book — Your own contacts
- Shared Address Books — Team or department contacts (if available)
- Collected Addresses — Automatically saved from sent emails
Step 6: Save the Contact
Click Save to add the contact to your address book.
The contact will now appear in your contact list. You can:
- Click on it to view or edit details
- Start typing the name when composing an email to auto-complete
Organizing Contacts into Groups
Create a Group
- In the left sidebar, click + next to Contact Groups
- Enter a name for the group (e.g., "Team", "Clients", "Family")
- Click OK
Add Contacts to a Group
- Drag a contact from the list onto the group name, or
- Right-click the group, select Add Members, and choose contacts
Importing Contacts (CSL/vCard)
To import contacts from another service:
- Click the gear icon ⚙ in the contacts toolbar
- Select Import
- Choose a file:
- vCard (.vcf) — Standard format, works with most address books
- CSV (.csv) — Spreadsheet export format
- Click Import
Imported contacts are added to the currently selected address book. Make sure the correct address book is selected before importing.
Editing or Deleting a Contact
- Edit: Click on a contact in the list, then click Edit
- Delete: Select the contact and click Delete (trash icon)
Conclusion
You have successfully added a contact to your SOGo 5 address book. Contacts are available throughout SOGo 5 — when composing email, inviting attendees to calendar events, or searching for colleagues.
Accessibility
Keyboard Navigation
SOGo 5 supports full keyboard navigation for contacts management.
| Action | Keyboard Shortcut: What key to press | Notes: Additional information |
|---|---|---|
| Navigate to Contacts | Alt+M, Tab to Contacts | |
| New contact | + or C | |
| Navigate contacts | J / K | |
| Search contacts | / | |
| Edit contact | E | |
| Delete contact | D | |
| Cancel | Escape |
Screen Reader Workflow
Step 1: Navigate to Contacts Module
Alt+MorTabto sidebar- Arrow keys to "Contacts"
Enterto activate Contacts module- Screen reader: "Contacts module, heading, level 2"
Step 2: Create New Contact
- Focus on "+" button (top of contacts list)
- Screen reader: "New contact, button"
Enterto activate
Step 3: Complete Contact Form
Form fields appear in this order (screen reader focus sequence):
-
First Name - recommended
- Type first name
Tabto next field
-
Last Name - recommended
- Type last name
Tabto next field
-
Email - recommended
- Type primary email address
- Screen reader: "Email, edit, text@domain.com, editable combobox"
Optional fields (tab through or skip with Shift+Tab):
- Phone - main phone number
- Mobile - mobile phone number
- Company - organization or company
- Job Title - position at work
Additional sections (scroll or Tab further):
- Address section
- Street, City, ZIP, Country fields
- Other Email - secondary email addresses
- Website - personal or work URL
- IM - IM handles
- Notes - free-text notes
Step 4: Choose Address Book (if applicable)
Tabto Address Book dropdownArrowkeys to select from "Personal", "Shared", etc.Enterto confirm
Step 5: Save Contact
Tabto Save buttonEnterto activate- Screen reader announces: "Contact saved"
- Contact appears in contact list
Common Screen Reader Announcements:
| Announcement: What screen reader says | Meaning: What it means | Action: What to do |
|---|---|---|
| "Email, editable combobox" | Email field with suggestions | Type email to see suggestions |
| "Select address book, combo box" | Choose where to save contact | Arrow to select, Enter to confirm |
| "Contact saved" | Success | Contact now in address book |
| "Please enter a valid email" | Invalid email format | Fix email address |
Keyboard Shortcuts in Contact Form:
Ctrl+SorCmd+S→ Save (alias for Enter on Save button)Escape→ Cancel/discardTab→ Next fieldShift+Tab→ Previous field
Visual Content Descriptions
contacts-add.png: This 3.5-second animated GIF shows adding a contact in SOGo 5's address book interface.
- Frame 1 (0-1.7s): Contacts module view showing existing contacts (address book list on left, contact items in main view)
- Frame 2 (1.7-3.5s): "+" button clicked (highlighted), blank contact form appears with fields for First Name, Last Name, Email, Phone, Company, Job Title
Screen Reader Alternative: If you cannot view this GIF, please use the Screen Reader Workflow section above.
Duration: 3.5 seconds, 2 frames
File size: 18 KB
High Contrast Mode
SOGo 5 currently does not have built-in high contrast mode. Workarounds for low-vision users:
Browser/OS-Level High Contrast:
- Windows:
Win+Ctrl+Ctoggles high contrast → Settings → Ease of Access → High Contrast - macOS:
System Preferences → Accessibility → Display → Increase contrast - Browser Extensions: Dark Reader, High Contrast (Chrome)
Contact Form Accessibility: All form fields have associated labels. Use Tab to navigate between fields. Screen readers will announce field labels and current values.