Free/Busy Lookup
Check when your colleagues are available before scheduling a meeting — directly from the event creation dialog.
Prerequisites
- A SOGo 6 account with valid credentials
- You are logged into SOGo 6
- The colleague has a SOGo 6 account and has shared their free/busy info
Step-by-Step Instructions
Step 1: Start Creating an Event
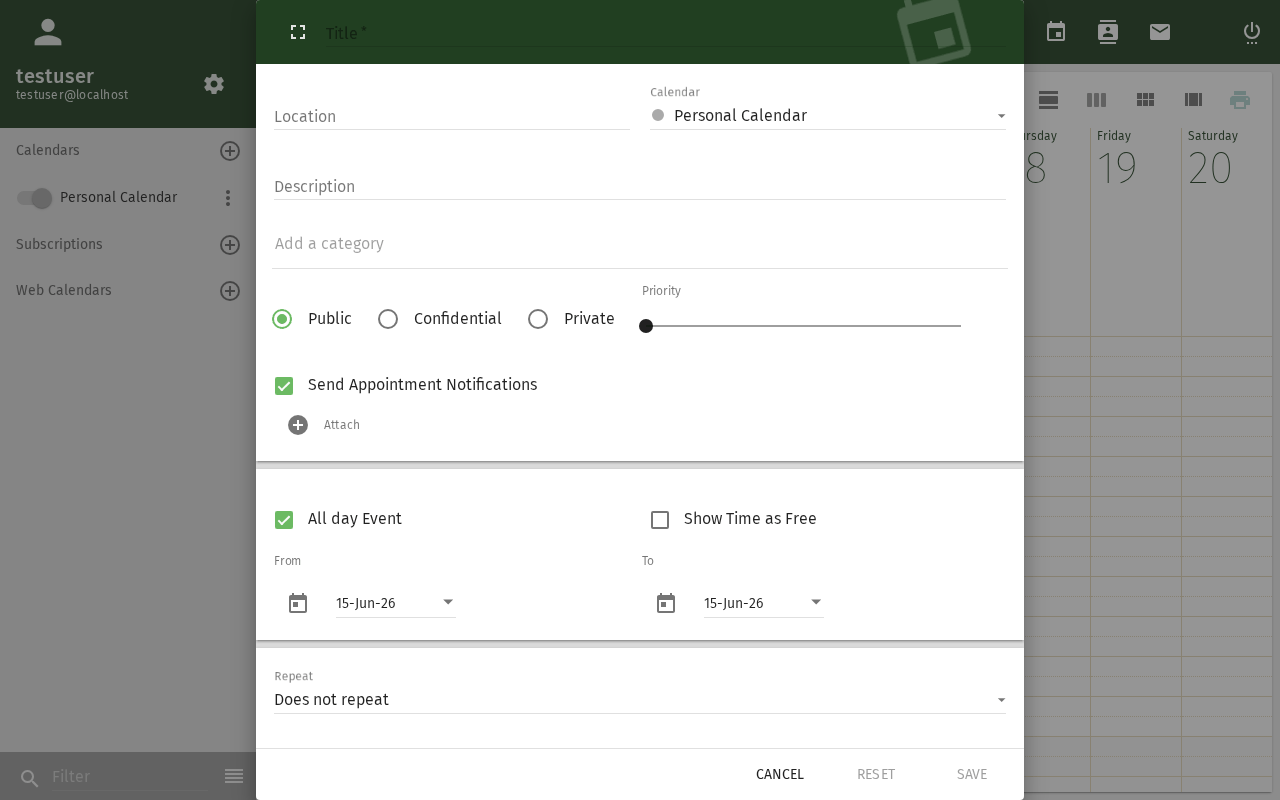
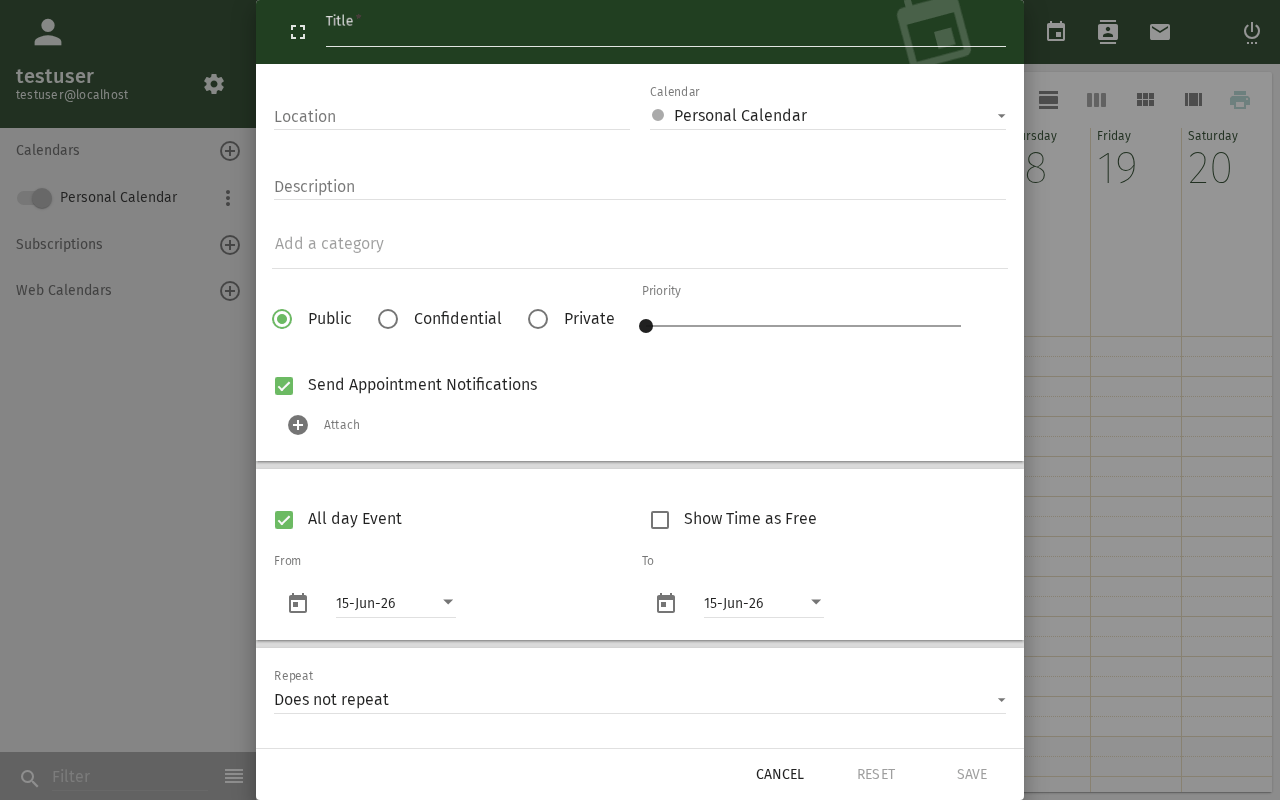
- Open the Calendar module
- Click + to create a new event, or click an existing event to edit
Step 2: Open Free/Busy View
- In the event dialog, click the Attendees section
- Click Free/Busy or Availability button
- A time grid opens showing your calendar
Step 3: Add a Colleague
- In the free/busy grid, click Add Person or Check Availability
- Start typing a colleague's name
- Select them from the auto-complete list
- Repeat for each person you want to check
Step 4: Read the Grid
The grid shows time slots for each person:
| Color | Meaning: Availability status |
|---|---|
| ✅ Green | Available |
| ❌ Red | Busy (has an event) |
| 🟡 Yellow | Tentative / maybe attending |
| ⬜ White | No data (not shared, or outside working hours) |
Step 5: Find a Common Slot
Look for a time when all attendees are green. SOGo 6 may suggest the next available slot automatically.
Step 6: Confirm the Time
Click on the desired time slot in the grid. The event's start/end time updates to match.
What Others See
By default, SOGo 6 is configured so that other users can see:
| Permission | What's Visible: What others can see |
|---|---|
| Free/Busy | Only whether you're available or busy (no details) |
| View (read-only) | Event titles and times |
| Confidential events | Marked as "Busy" only, even to viewers |
Your administrator can change default permission levels via the
SOGoCalendarDefaultRoles setting.
Troubleshooting
Colleague not showing up
- Check they have a SOGo 6 account
- They may not have free/busy sharing enabled
- They might be in a different address book — try typing their full email
All times show "No data"
- The colleague hasn't shared their calendar with you
- Contact them or your administrator to grant free/busy access
- Default roles may be restricted (
PublicDAndTViewermust be set)
Conclusion
Free/busy lookup helps you find meeting times without the back-and-forth of "Are you free at...?" emails. It works for anyone in your organization who shares calendar availability.
Accessibility
Keyboard Navigation
SOGo 6 supports full keyboard navigation for free/busy lookup features.
| Action | Keyboard Shortcut | Notes |
|---|---|---|
| Open Calendar module | Alt+C | |
| Create new event | Ctrl+N or Tab then Enter on + button | |
| Open Attendees section | Tab to Attendees field | |
| Open Free/Busy view | Tab to Free/Busy button, then Enter | |
| Add Person to grid | Tab to Add Person, then Enter | |
| Navigate time grid | Tab and arrow keys | |
| Select available time slot | Enter on a green slot | |
| Confirm event | Tab to Save, then Enter |
Screen Reader Workflow
Free/Busy Lookup: Checking Colleague Availability for a Meeting
Step 1: Open Calendar Module
- Press
Alt+Cto navigate to the Calendar module - Screen reader announces: "Calendar, module heading"
Step 2: Create a New Event
- Press
Ctrl+Nto create a new event, or tab to the + button and pressEnter - Screen reader announces: "New event dialog"
- The event dialog opens with fields for title, date, time, and attendees
Step 3: Open Attendees Section
- Press
Tabrepeatedly to navigate through event fields (title, date, time) - Stop when you reach the Attendees section
- Screen reader announces: "Attendees, section"
Step 4: Open Free/Busy View
- Press
Tabto reach the Free/Busy or Availability button - Press
Enterto open the availability grid - Screen reader announces: "Free busy grid, your calendar shown"
Step 5: Add a Colleague
- Press
Tabto reach the Add Person field - Type the colleague's name or email
- Screen reader announces: "Edit, autocomplete, suggestions available"
- Use
Downarrow to navigate through suggested names - Press
Enterto select the correct colleague - Screen reader announces: "Person added to grid"
Step 6: Navigate and Read the Grid
- Use
Tabto move between colleague rows in the grid - Use
Left/Rightarrow keys to move across time slots - Screen reader announces each slot: "10:00 AM, available" or "11:00 AM, busy"
- Color meanings are conveyed as text: "Available (green)", "Busy (red)", "Tentative (yellow)", "No data (white)"
- Repeat for each colleague added
Step 7: Select a Common Available Slot
- Navigate to a time slot where all colleagues show as available
- Press
Enterto select the time - Screen reader announces: "Time selected: 2:00 PM to 3:00 PM"
- The event's start and end time update automatically
Step 8: Save the Event
- Press
Tabto reach the Save button - Press
Enterto confirm and create the event - Screen reader announces: "Event saved" or similar confirmation
- The event appears in your calendar with the selected time
Common Screen Reader Announcements:
| Announcement | Meaning | Action |
|---|---|---|
| "New event dialog" | Event creation form is open | Begin filling in event details |
| "Free busy grid, your calendar shown" | Availability view is active | Proceed to add colleagues |
| "Edit, autocomplete, suggestions available" | Person search field is active | Type colleague's name and select from list |
| "Person added to grid" | Colleague's schedule is loaded | Continue adding more or find a slot |
| "10:00 AM, available" | Time slot is free | Select this slot for the meeting |
| "2:00 PM, busy" | Time slot is occupied | Move to a different time slot |
| "No data, white" | Free/busy not shared | Ask colleague to enable sharing or contact admin |
| "Event saved" | Meeting is created | Event is on your calendar |
Visual Content Descriptions
[freebusy.png]: Animated demonstration of checking colleague availability via the free/busy grid in SOGo 6.
- Frame 1 (0–1.0s): User opens the Calendar module and clicks + to create a new event. The event creation dialog appears
- Frame 2 (1.0–2.5s): User clicks the Attendees section and then clicks Free/Busy button. The free/busy time grid opens showing the user's own calendar with colored time slots
- Frame 3 (2.5–4.5s): User clicks Add Person, types a colleague's name, and selects them from the autocomplete list. The colleague's schedule appears in the grid below
- Frame 4 (4.5–6.0s): User scrolls horizontally through the grid. Green available slots and red busy slots are visible for both the user and the colleague
- Frame 5 (6.0–8.0s): User finds an overlapping green slot at 2:00 PM and clicks it. The event time updates. User clicks Save to confirm the meeting
High Contrast Mode
SOGo 6's dark mode and high contrast mode work with all sections described above. Toggle via: Settings button (gear icon) → General → Theme → Dark/High Contrast.