Recurring Events & Alarms
This tutorial covers creating events that repeat on a schedule and configuring reminders so you never miss them.
Prerequisites
- A SOGo 6 account with valid credentials
- You are logged into SOGo 6
Part 1: Creating a Recurring Event
Step 1: Start a New Event
- Open the Calendar module
- Click the + (plus) button or double-click a time slot
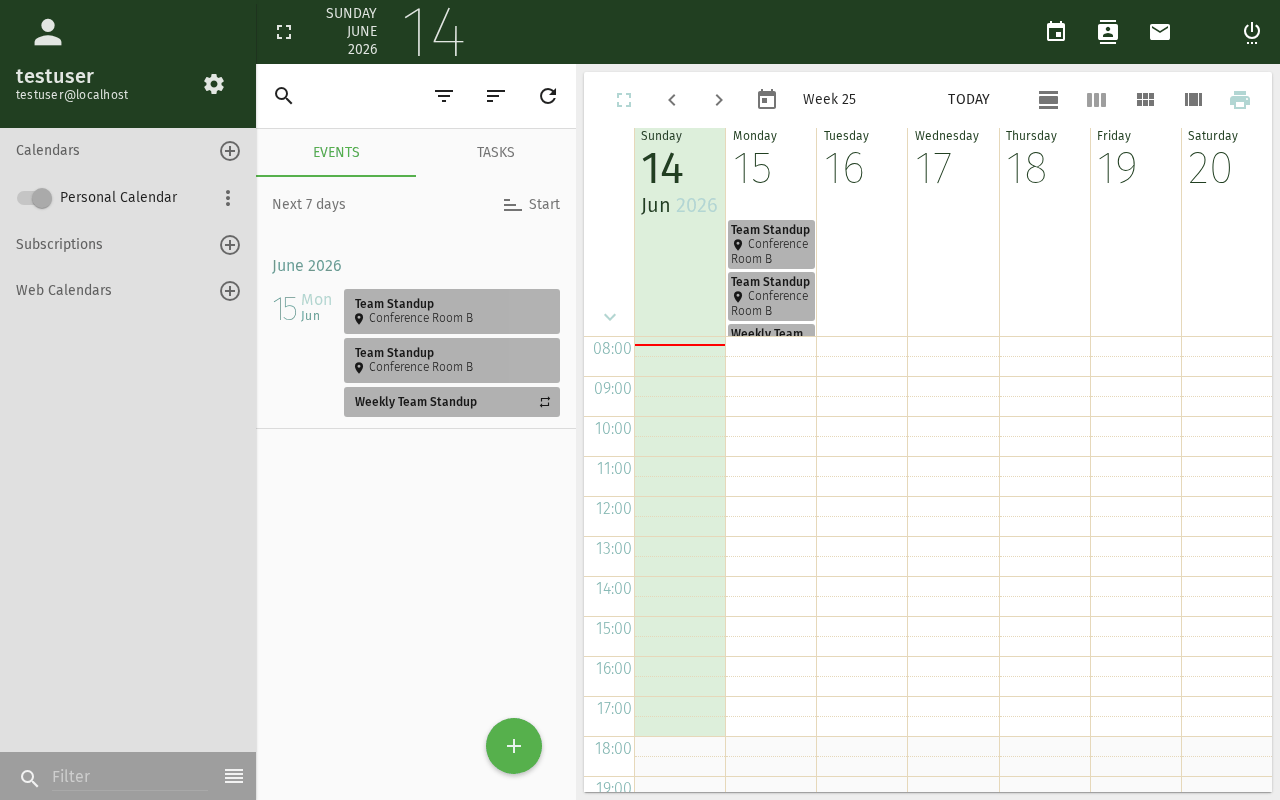
- The new event dialog appears
Step 2: Set Basic Details
Fill in:
- Title: e.g., "Weekly Team Standup"
- Start / End: First occurrence date and time
- Calendar: Choose which calendar to save to
Step 3: Configure Recurrence
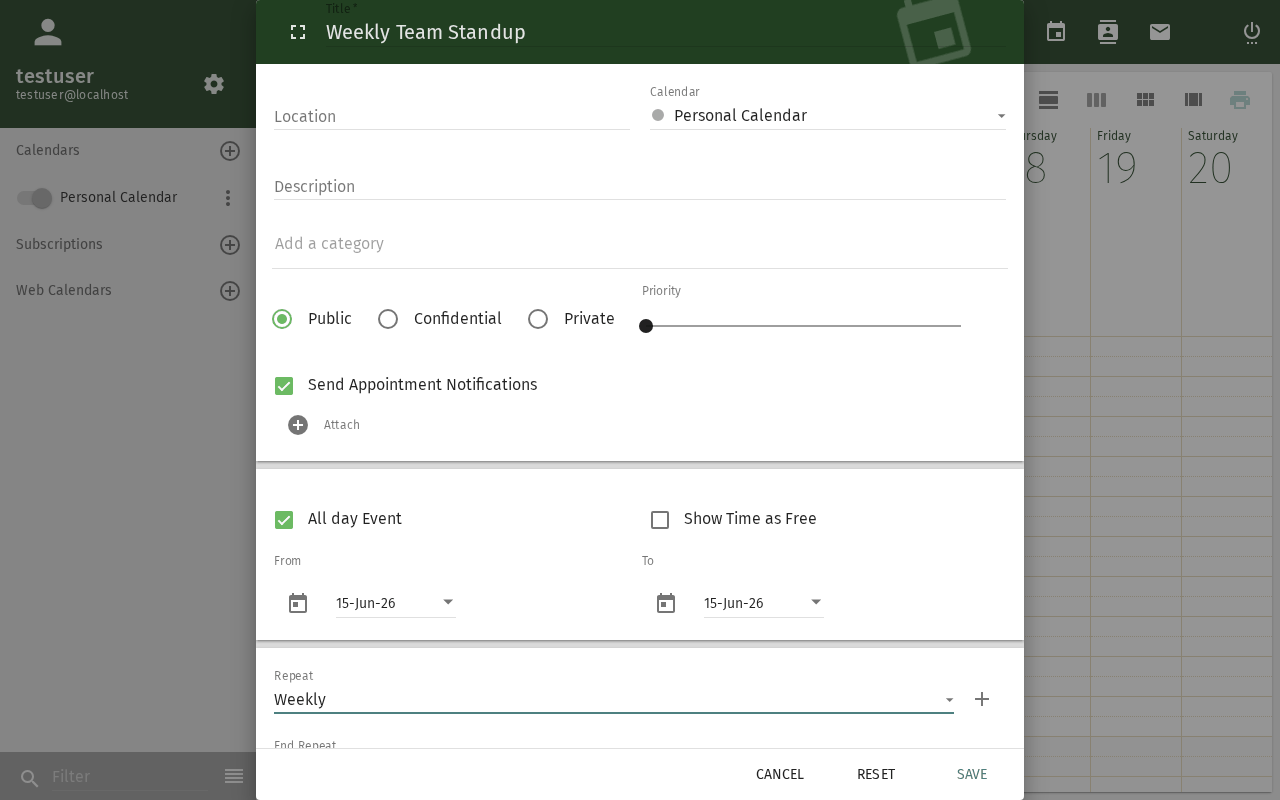
Click the Repeat or Recurrence section to expand it:
| Option | Description: What this option does | Example Use |
|---|---|---|
| Daily | Repeats every N days | Morning check-in |
| Weekly | Repeats on selected weekdays | Standup every Mon/Wed/Fri |
| Bi-weekly | Repeats every 2 weeks | Sprint planning |
| Monthly | Repeats on a day of the month | Department meeting on 1st |
| Yearly | Repeats on a date each year | Birthday, anniversary |
For weekly recurrence, you can select multiple days (e.g., Monday, Wednesday, Friday) by checking the boxes.
Step 4: Set an End Date (Recommended)
Always set an end date for recurring events to prevent infinite repetition:
- End by date: Choose a specific date (e.g., end of semester)
- End after N occurrences: Limit the number of repetitions
- No end date: Use sparingly — only for permanent events
Step 5: Save the Recurring Event
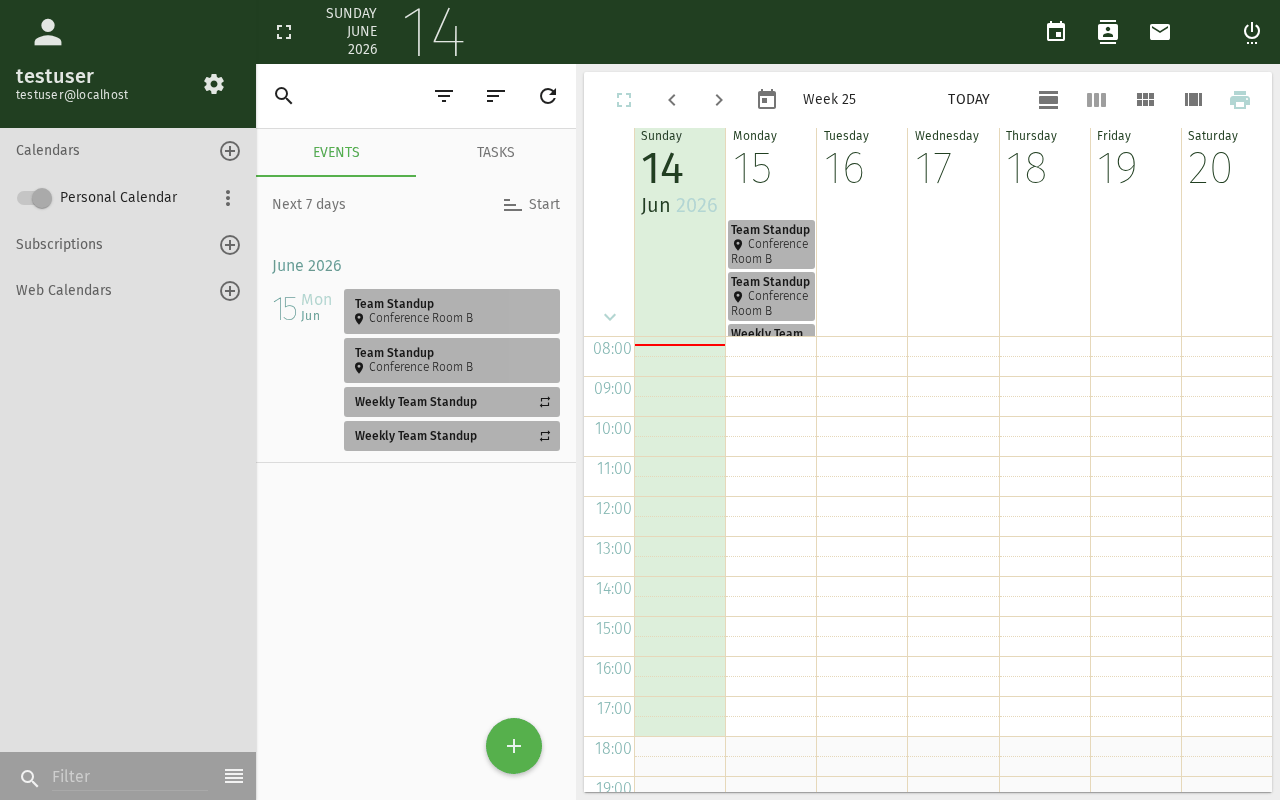
Click Save. The event is created with a recurrence icon 🔄 indicating it repeats.
Part 2: Adding Alarms (Reminders)
Step 1: Open the Alarm Settings
In the event dialog, click the Alarm or Reminder section.
Step 2: Choose Reminder Type
- Display (Popup)
A popup notification appears in your browser when the reminder fires.
- Select Display as the alarm type
- Choose when: 15 minutes before (default), 1 hour before, 1 day before, or Custom
- The reminder will appear as a browser notification
An email is sent to your SOGo 6 email address.
- Select Email as the alarm type
- Choose the timing
- Check your email when the reminder fires
Server-side requirement: Email alarms require the
sogo-ealarms-notify daemon to be running on the server.
Contact your administrator if email reminders don't arrive.
Step 3: Add Multiple Alarms
You can add more than one alarm per event:
- 15 minutes before — popup reminder
- 1 day before — email reminder with preparation notes
- At time of event — final notification
Click Add Alarm to add additional reminders.
Part 3: Editing or Stopping Recurrence
Edit a Single Occurrence
- Click on the specific event instance in the calendar
- Choose Edit this occurrence only
- Make changes — they apply only to that date
Edit the Entire Series
- Click on any occurrence
- Choose Edit the series
- Changes apply to all events in the recurrence
Stop Recurrence
- Open the event dialog
- Set Repeat to None
- Save — SOGo 6 asks if you want to keep existing future events
- Choose Delete all future events or Keep them as individual events
Troubleshooting
Recurrence options not showing
- Make sure you're editing a new or existing event in the Calendar module, not an invitation received via email
- Some SOGo 6 themes hide the Repeat section behind a "More options" button
Alarm not firing
- Display alarms require the browser tab to be open
- Email alarms require server-side configuration (
sogo-ealarms-notify) - Check your browser's notification permissions
Conclusion
You have learned to create recurring events and set up alarms in SOGo 6. These features are essential for regular meetings, deadlines, and important dates.
Accessibility
Keyboard Navigation
SOGo 6 supports full keyboard navigation for recurring events.
| Action | Keyboard Shortcut | Notes |
|---|---|---|
| Navigate to Calendar | Alt+M, Tab to Calendar | |
| Create new event | N or + | |
| Open recurrence settings | Ctrl+Shift+R or Tab to recurrence | |
| Set frequency | Arrow keys (Daily/Weekly/Monthly/Yearly) | |
| Set recurrence end | Tab to end fields | |
| Set interval | Arrow key + Tab | |
| Save recurring event | Ctrl+S or Enter |
Screen Reader Workflow
Creating Recurring Event
Step 1: Create New Event
Alt+Mto focus sidebar- Arrow keys to "Calendar"
- Press
Nor+for new event
Step 2: Open Recurrence Settings
- Event dialog opens
- Tab to "Recurrence" label or press
Ctrl+Shift+R - Press
Spaceto expand recurrence section
Step 3: Set Recurrence Frequency
- Focus on frequency dropdown
- Arrow key to select (Daily/Weekly/Monthly/Yearly)
- Press
Enter
Step 4: Set Recurrence Details
- Tab to interval field (e.g., "Every 2 days")
- Type interval number, arrow to select unit
- Tab to end date/occurrence count
- Specify when recurrence should end
Step 5: Save Recurring Event
- Tab to "Save" button
- Press
Enter - Screen reader announces series created
Common Screen Reader Announcements:
| Announcement | Meaning | Action |
|---|---|---|
| "Recurrence, check box" | Recurrence available | Press Space to enable |
| "Frequency, radio button" | How often to repeat | Arrow to select type |
| "Every, edit" | Recurrence interval | Type number, select unit |
| "Until, date picker" | When to end recurrence | Tab, select end date |
| "Occurrences, edit" | How many times to repeat | Type number or leave blank |
| "Recurring event created" | Success | Event series saved |
Visual Content Descriptions
calendar-recurring.png: This 3.2-second animated GIF shows creating a recurring event.
- Frame 1 (0-0.8s): Create event dialog open with title, date, time fields filled
- Frame 2 (0.8-2.2s): Recurrence section expanded, frequency dropdown showing "Weekly" selected, interval set to "Every 1 week", specific weekdays checked (Monday, Wednesday, Friday)
- Frame 3 (2.2-3.2s): Event details saved, confirmation showing recurring icon in calendar, series indicator visible
High Contrast Mode
SOGo 6's dark mode and high contrast mode work with all sections described above. Toggle via: Settings button (gear icon) → General → Theme → Dark/High Contrast.